Go to Settings >> Configuration >> Devices.
Click the Add Collectors/Fetchers ( ) icon from the Actions column of the localhost device.

Adding Fetchers in a Device
Click Vulnerability Management.
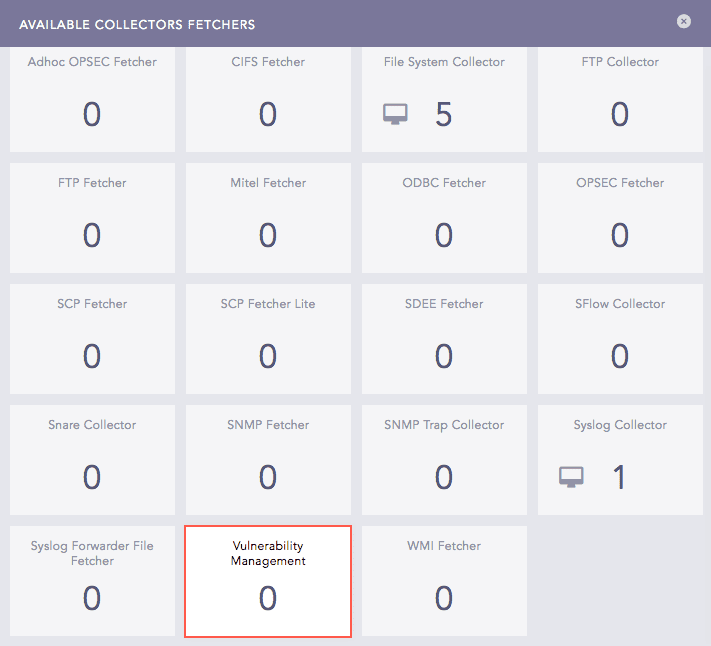
Available Collectors Fetchers Panel
Select Tenable.sc.
Click Add.
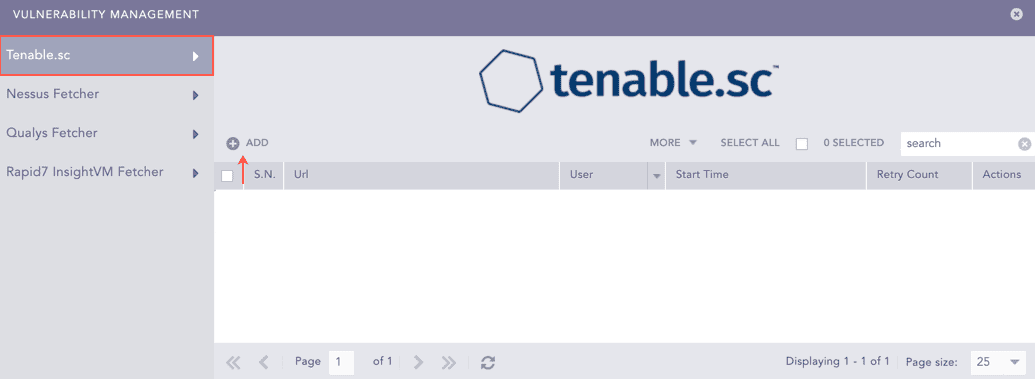
Vulnerability Management Panel
Enter the Url of the host machine where you have Tenable.sc configured.
Enter the User and the Password for Tenable.sc.
Select a Start Time to fetch all the SecurityCenter reports from this date onwards.
Enter the number of Retries Count to fetch the failed reports.
Note
The Retries Count value is three by default and the maximum limit is five.
Enter the Fetch Interval in minutes.
Select a Processing Policy.
Select a Charset.
Click Test to check whether the fetcher configuration is working correctly.
Select Enable Proxy if you use a proxy server.
In the Proxy Configuration section:
12.1. Enter the IP address and the Port number of the proxy server.
12.2. Select HTTP or HTTPS protocol as required.
Click Submit.
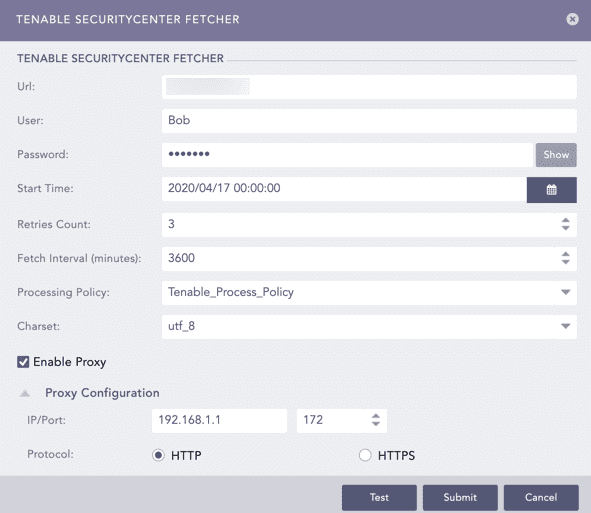
Configuring Tenable.sc Fetcher
Select Nessus Fetcher.
Click Add.
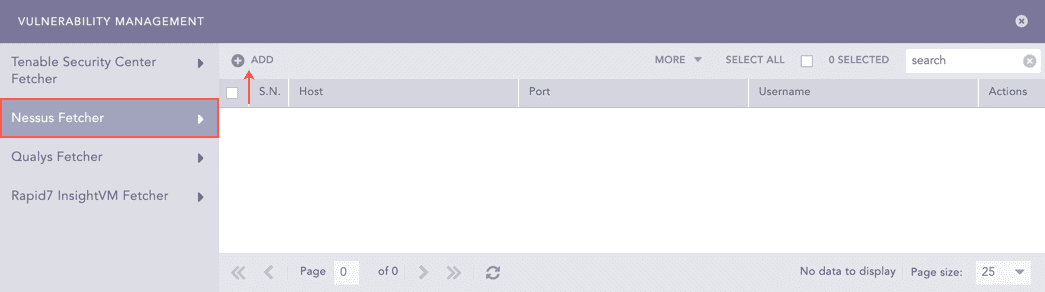
Vulnerability Management Panel
Enter the Host URL or IP address of the host machine where you have Nessus configured.
Enter the Port of the Nessus configured host machine.
Enter the Username and the Password for Nessus.
Enter a Fetch Interval in minutes.
Select a Processing Policy.
Select a Charset.
Click Test to check whether the fetcher configuration is working correctly.
Select Enable Proxy if you use a proxy server.
In the Proxy Configuration section:
11.1. Enter the IP address and the Port number of the proxy server.
11.2. Select HTTP or HTTPS protocol as required.
Click Submit.
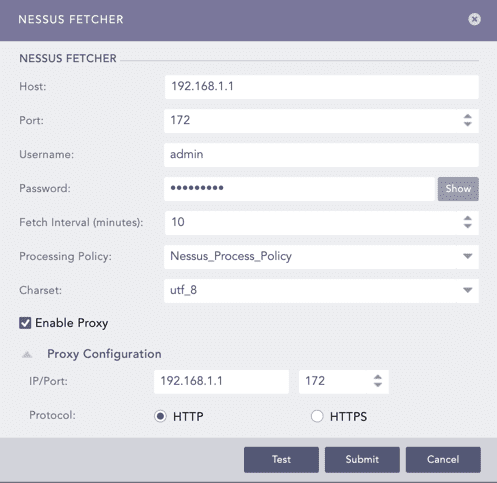
Configuring Nessus Fetcher
Select Qualys Fetcher.
Click Add.
Vulnerability Management Panel
Enter the Qualys Account Name.
Enter the Hostname URL or IP address of the host machine where you have Qualys configured.
Select the Qualys Scan type.
Enter the Username and the Password for Qualys.
Enter the Fetch Interval in minutes.
Select a Processing Policy.
Select a Charset.
Click Test to check whether the fetcher configuration is working correctly.
Select Enable Proxy if you use a proxy server.
In the Proxy Configuration section:
12.1. Enter the IP address and the Port number of the proxy server.
12.2. Select HTTP or HTTPS protocol as required.
Click Submit.
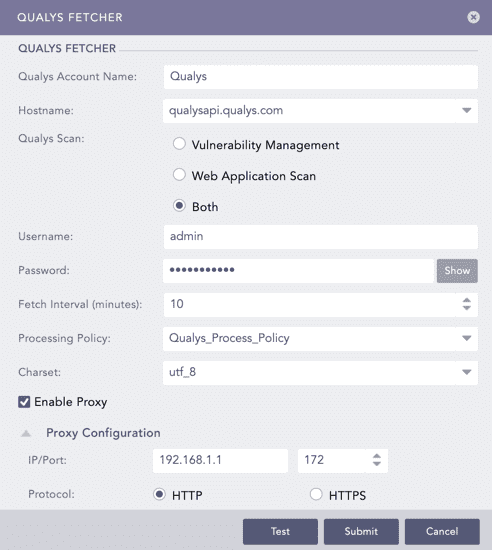
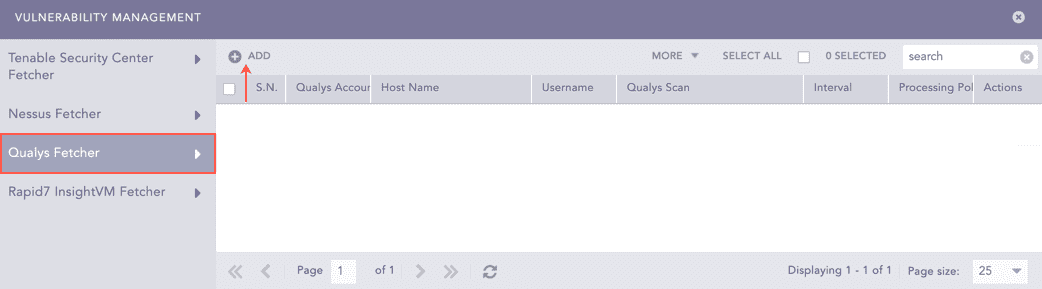
Configuring Qualys Fetcher
Select Rapid7 InsightVM Fetcher.
Click Add.
Vulnerability Management Panel
Enter the Host URL or IP address of the host machine where you have Rapid7 InsightVM configured.
Enter the Port of the Rapid7 InsightVM configured host machine.
Enter the Username and the Password for Rapid7 InsightVM.
Enter the Fetch Interval in minutes.
Select a Processing Policy.
Select a Charset.
Click Test to check whether the fetcher configuration is working correctly.
Select Enable Proxy if you use a proxy server.
In the Proxy Configuration section:
11.1. Enter the IP address and the Port number of the proxy server.
11.2. Select HTTP or HTTPS protocol as required.
Click Submit.
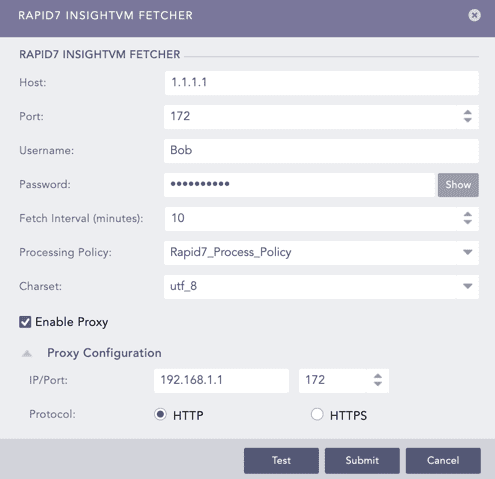
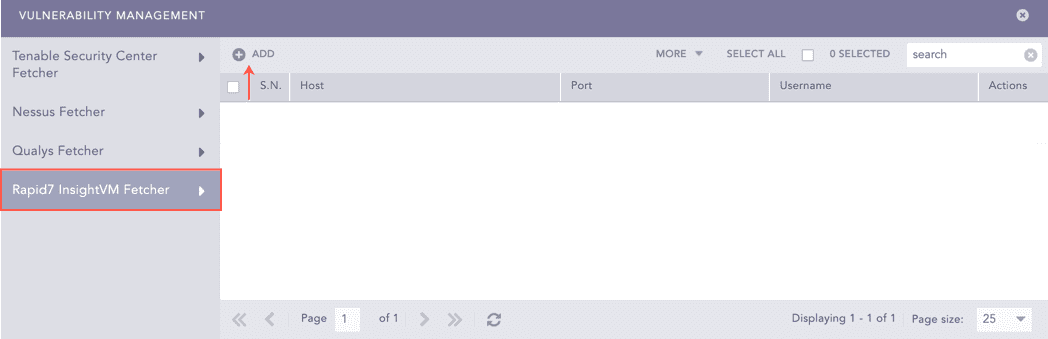
Configuring Rapid7 InsightVM Fetcher
Select Holm Security Fetcher.
Click Add.
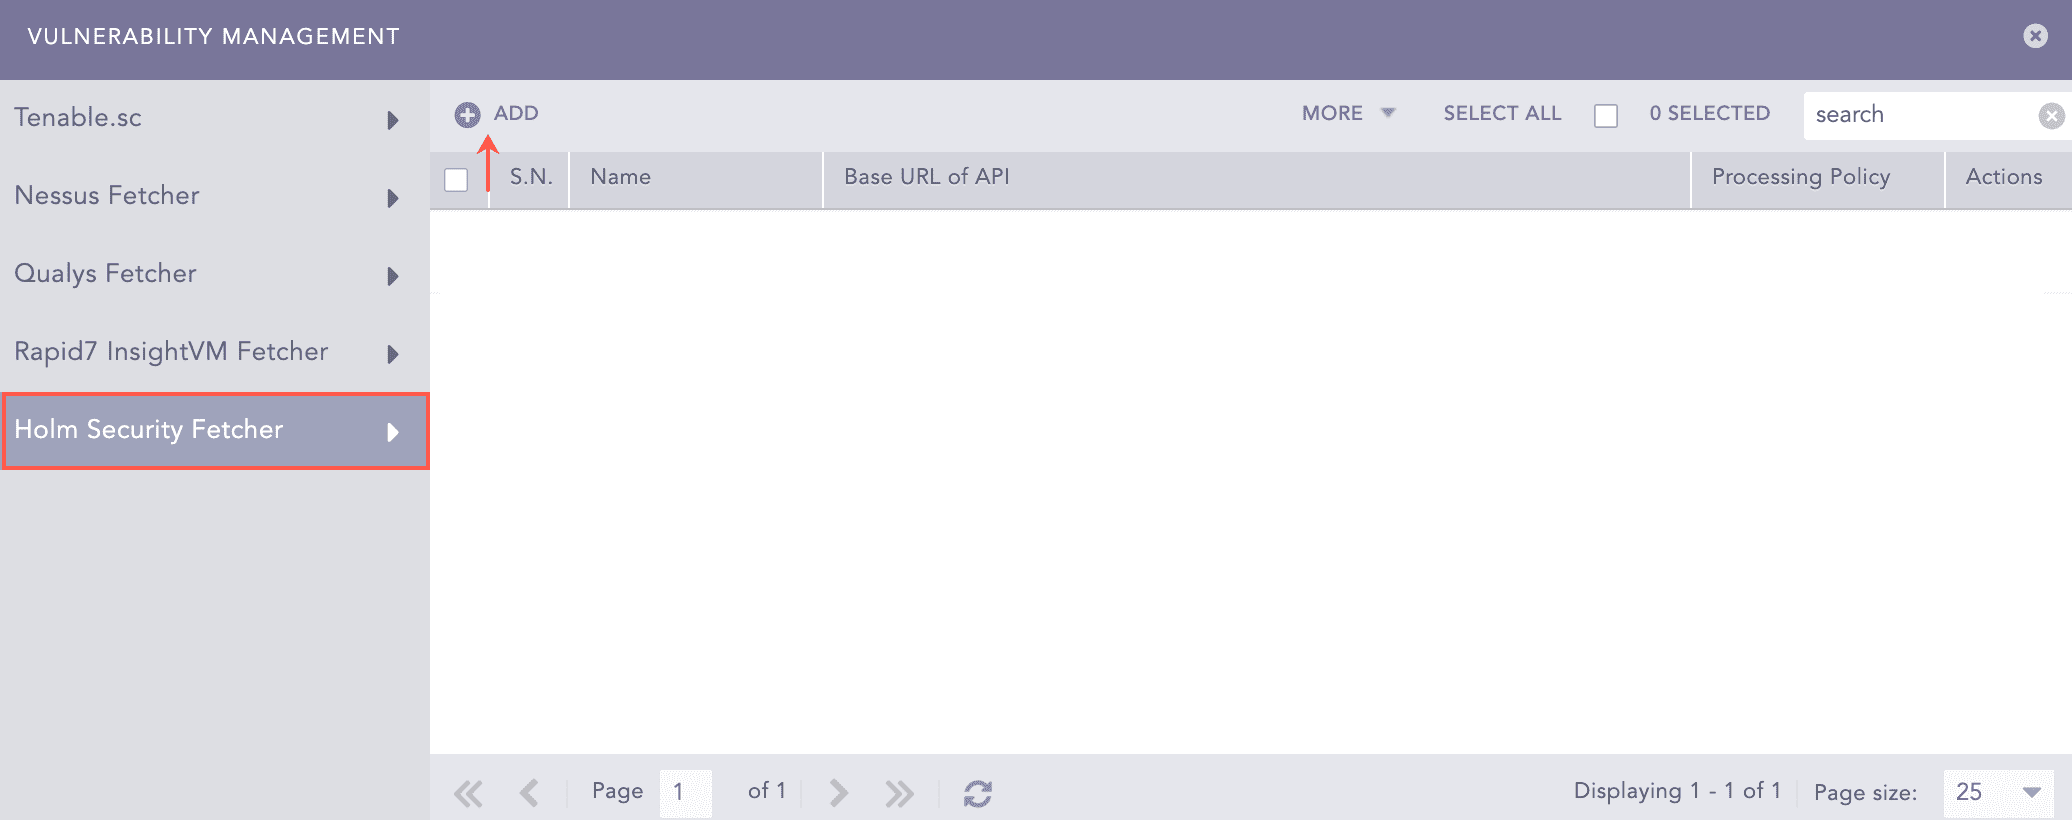
Vulnerability Management Panel
Enter a Name for the configuration.
Enter the Base URL of API of Holm Security.
Enter the API Token of Holm Security.
Note
Refer to the Appendix section of the manual to get information on obtaining Base URL of API and API Token of Holm Security.
Select the Last Detected date of vulnerability after which they should be fetched.
Select the Fetch Interval in minutes.
Select a Processing Policy.
Select a Charset.
Click Test to check whether the fetcher configuration is working correctly.
Select Enable Proxy if you use a proxy server.
In the Proxy Configuration section:
12.1. Enter the IP address and the Port number of the proxy server.
12.2. Select HTTP or HTTPS protocol as required.
Click Submit.
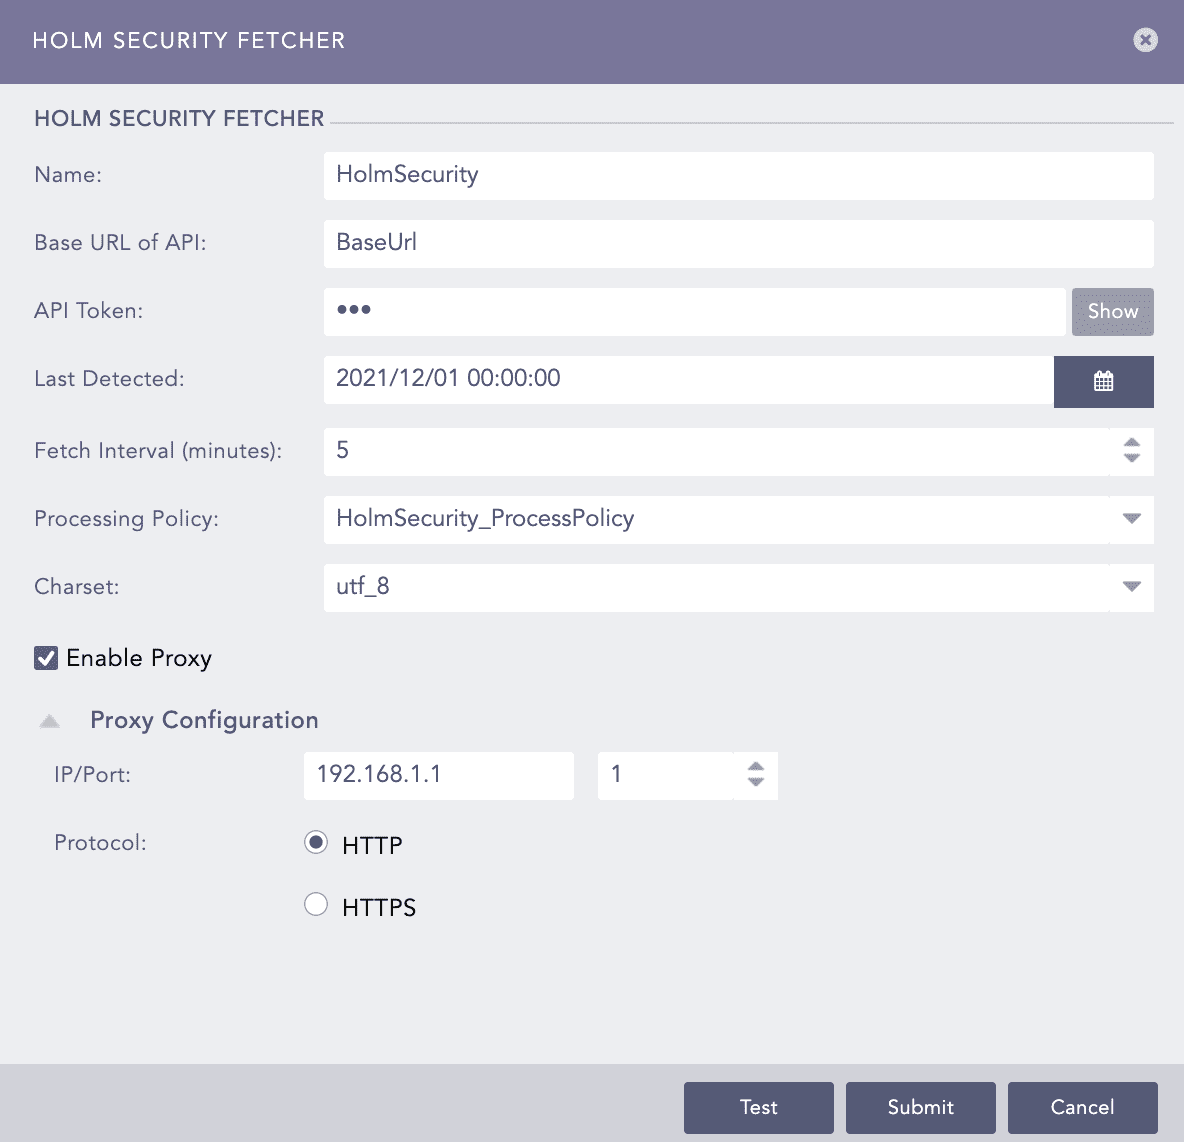
Configuring Holm Security Fetcher